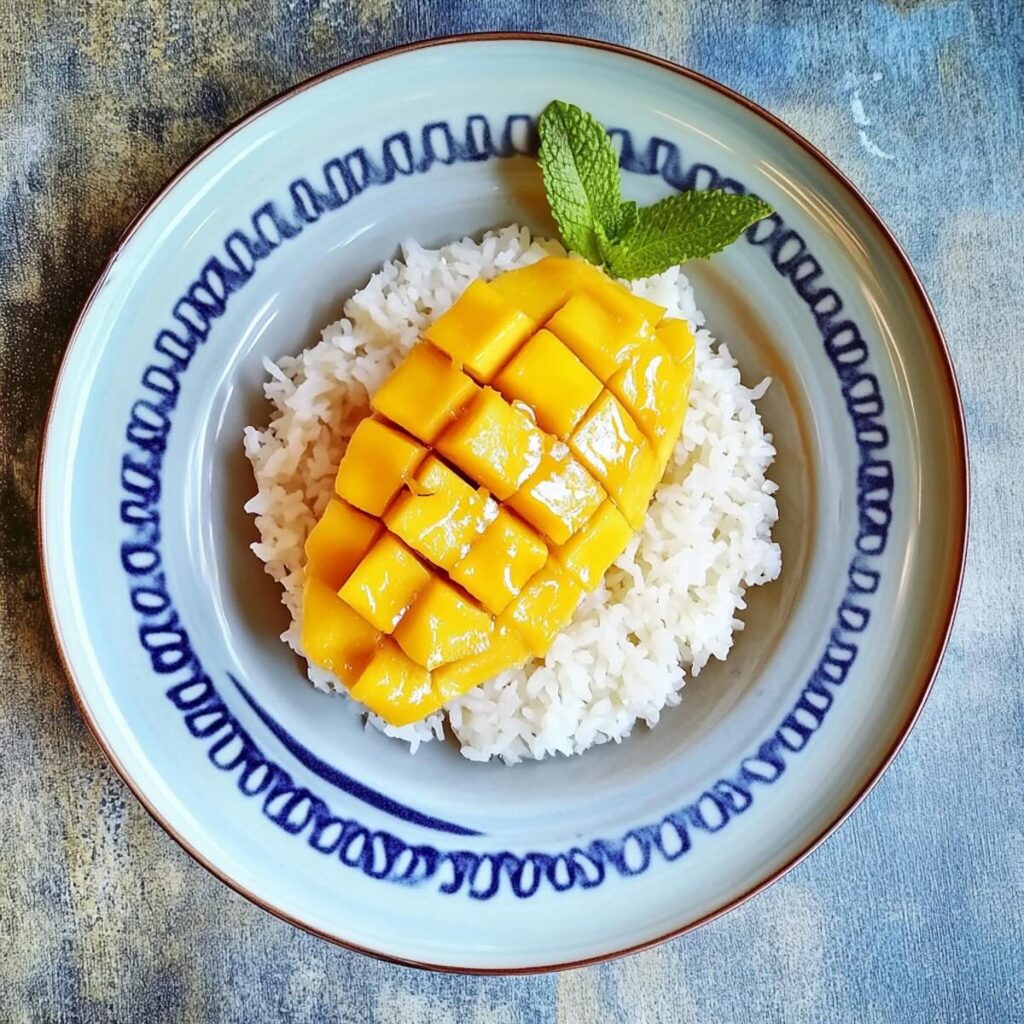
Heart-warming sticky rice, sweet coconut sauce, and luscious mango! Love rice pudding? You’ll love Mango Sticky Rice more!
Why You’ll Love this Recipe
- AUTHENTIC THAI FLAVORS UNLEASHED: Learn the art of crafting Mango Sticky Rice from the expertise of a seasoned Thai cooking class teacher – me, Sherri! I’ll guide you through the steps, revealing the secrets behind how to make your favorite Thai dessert.
- CROWD PLEASING FRUIT DESSERT: Even though Mango Sticky Rice is a dessert, unlike with cakes or cookies, you feel refreshed after eating it from the fruit and the light, yet satisfying rice.
Sherri’s Story
Even though it was so insanely hot on our last visit to Thailand in March, there was a huge benefit to going during the most intense part of Thai summer—we were in golden, sweet, sticky heaven since succulent Thai mangos were in season.
One night we had our friends over to the condo where we were staying in Bangkok and asked them to bring a dish from the street to share.
Two people brought the same dish: mango sticky rice! We had so much that we feasted and feasted and feasted.
And I still wanted more.
We even got a mango sticky rice sundae at Swensen’s, a fancy ice-cream parlor seen mainly in the malls in Thailand.
It was a massive bowl full of mango ice cream, sticky rice, mango and whip cream.
We split it between five people and still had gobs of ice cream melting in the bowl when we were all filled to the top.
In honor of my pregnancy fruit cravings, I decided even though the mangos at HEB aren’t going to taste as smooth and silky and sweet as those in Thailand, I just had to make Thai mango sticky rice.
Since I don’t have a handy-dandy Thai sticky rice steamer, the trickiest part for me is figuring out how to make the sticky rice.
But then I read this awesome post on how to make sticky rice without a steamer, and have used that method ever since with great results.
I use a saute pan, splatter guard, and put another pan on top and it works for me!
Whenever cute Mexican Ataulfo mangos are in season, make the most of it and make mango sticky rice!!
Ingredient Notes
Uh-oh! Don’t have some of these ingredients? Don’t worry! Just look below for how to sub them in my Additions and Substitutions section!
- 1 cup raw Thai Sweet Rice
- 1 (13.5 oz) can Chaokoh Coconut Milk or coconut milk of your choice
- 1 cup sugar
- 1/4 tsp. salt
- 2 Ataulfo mangos, or Thai yellow, ripe mangos, if you are lucky enough to find them, sliced into strips
How to Make Mango Sticky Rice: Step by Step
- Rinse the rice until the water runs clear.
- Soak your rice in a container with at least a few inches of water above it for at least four hours or up to overnight.
- Drain your rice.
- Steam your rice using your preferred method.
- While the rice is cooking, start on the coconut sauce. Place the coconut milk, sugar, and salt in a small pot, bring to a boil, stirring for about 5 minutes until the sugar dissolves, and then take it off the heat.
- Once the rice is cooked, place it in a bowl.
- Pour some of the coconut sauce into your sticky rice, stir until well mixed, and let it rest for about 30 minutes to absorb the coconut sauce.
- Peel and slice the mango.
- Place the sticky rice and mango on a plate, drizzle the leftover coconut sauce over, and enjoy!
Recipe Tips & Tricks
- If you have leftover coconut sauce, I’ve had students say they love to put it in their coffee! Or on ice cream!
Storage & Reheating
Fridge: According to the USDA, leftovers like Mango Sticky Rice are still good after 3-4 days of being in the fridge.
Freezer: Sadly sticky rice doesn’t do well in the freezer so don’t put it there, but happily that means you need to eat it all ASAP so it doesn’t go to waste!
Reheat: Transfer the rice to a microwave-safe dish, add a splash of water, and heat in short intervals until warmed. The coconut sauce may thicken in the fridge, so add a bit of coconut milk to regain the desired consistency.
Additions and Substitutions
- Coconut Milk Substitute: Use the same amount of heavy cream or milk of choice.
- Mango Substitute: Maybe try peaches? I haven’t tried it but think it might work too!
Your Questions Answered
Is Mango Sticky Rice traditionally served warm or cold?
Mango Sticky Rice is typically served warm, allowing the sweet coconut sauce to meld with the sticky rice.
Can I use regular rice instead of Thai sweet rice?
The only rice you can use to make Thai sticky rice is called Thai sweet rice or glutinous rice. If you use normal rice, it won’t be sticky.
Other Recipes You’ll Love
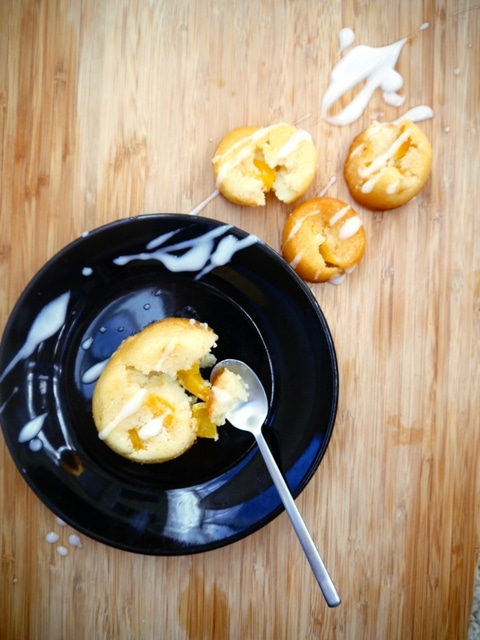
- Mini Mango Cobblers– My favorite way to make cobbler!
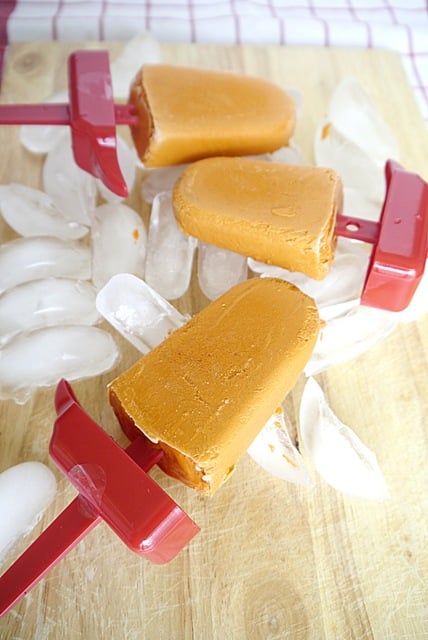
- Thai Milk Tea Popsicles– Perfect for a spring or summer day!
- Mango Coconut Smoothie– Brings me back to the Thai beaches every time!
If you make it, I want to see! Take a pic and tag us on Instagram @thaifoodie!
Print
Mango Sticky Rice
- Total Time: 4 hours 30 minutes
- Yield: 4 1x
Description
Heart-warming sticky rice, sweet coconut sauce and luscious mango! Love rice pudding? You’ll love Mango Sticky Rice more!
Ingredients
- 1 c. raw Thai Sweet Rice
- 1 (13.5 oz) can Chaokoh Coconut Milk
or coconut milk of your choice
- 1 c. sugar
- 1/4 tsp. salt
- 2 Ataulfo mangos, or Thai yellow, ripe mangos, if you are lucky enough to find them, sliced into strips
Instructions
- Rinse the rice until the water runs clear.
- Soak your rice in a container of choice with at least a few inches of space of water above it, since it will soak up some of the water, for at least four hours or up to overnight.
- Drain your rice.
- Steam your rice using your preferred method, whether it’s a Thai Sticky Rice Steamer
or using the splatter guard method like I do.
- If you try that method, fill a saute pan, or pot with water until it’s about three inches below the top of the pot.
- Then place the splatter guard on top of the pot and spread out the rice in a thin layer.
- Place another pot or bowl on top of the splatter guard so it covers the rice, but doesn’t touch it.
- Let the rice cook for about 20 minutes or so, and then flip it over in sections, and let the other side cook for about 10 minutes. I like to taste it to see if it’s reached the soft, sticky texture.
- While the rice is cooking, start on the coconut sauce you’ll mix into the rice.
- Place the coconut milk, sugar and salt in a small pot, and bring to a boil, stirring off and on for about 5 minutes just until the sugar is dissolved, and then take it off the heat.
- Once the rice is cooked, place it in a bowl or dish of your choice.
- Pour some of the coconut sauce into your sticky rice, and stir until it’s well mixed, and all the rice is covered with sauce, and there are little puddles of sauce. You wont use all the coconut sauce, save about 1/2 cup of it or more to pour on top of each serving.
- Put a cloth over the top of the rice, and let it rest for about 30 minutes to let the rice absorb the coconut sauce.
- Peel the mango. I like to use a vegetable peeler, or paring knife.
- To cut the mango, I like to stand it up with the stem at the top, and then start to cut about an inch off from the stem on both sides to avoid the pit. Then cut those sides into thin slices.
- Place the sticky rice, and mango on a plate and drizzle the leftover coconut sauce over the rice and mango to your heart’s delight.
- Enjoy!
Notes
The only rice you can use to make Thai sticky rice is called Thai sweet rice or glutinous rice. If you use normal rice it wont be sticky.
If you have leftover coconut sauce, I’ve had students say they love to put it in their coffee! Or on ice cream!
Hey dear! I hope you love this Mango Sticky Rice Recipe! If you make it be sure to leave a comment and a rating so I know how you liked it. Happy Thai Cooking!
- Prep Time: 4 hours
- Cook Time: 30 minutes
- Category: Dessert
- Method: Steaming
- Cuisine: Thai
Nutrition
- Serving Size: 4
This post contains links to affiliate websites, such as Amazon, and we receive an affiliate commission for any purchases made by you using these links. We appreciate your support!


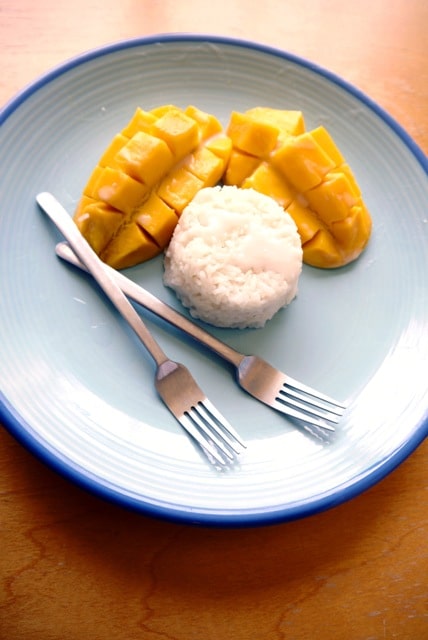
Mango with sticky rice is one of our favourite deserts and the best way to finish a great Thai meal. Your one looks totally scrumptious! Beautiful photos and thank you for sharing your lovely recipe. 🙂
I totally agree that it’s the best way to finish a great Thai meal! I hope you all enjoy it!! Thanks for your kind comment 🙂