Thai food and garlic are best friends. They can’t live without each other, and almost all Thai dishes have some sort of garlic thrown in whether it’s stir-fried in the Thai food or fried garlic sprinkled on top of a dish.
Of course we always have garlic in our house, and usually whatever amount of garlic a recipe calls for, I always double it, per request of my Thai Hubby. And a glass container of fried garlic in garlic oil is often on our counter, waiting to be sprinkled on any dish that needs an extra pop of crunchy garlic goodness.
In Thailand, they typically put fried garlic in Thai noodle bowls, or in different Thai stir-fried dishes like Garlic Pepper Chicken.
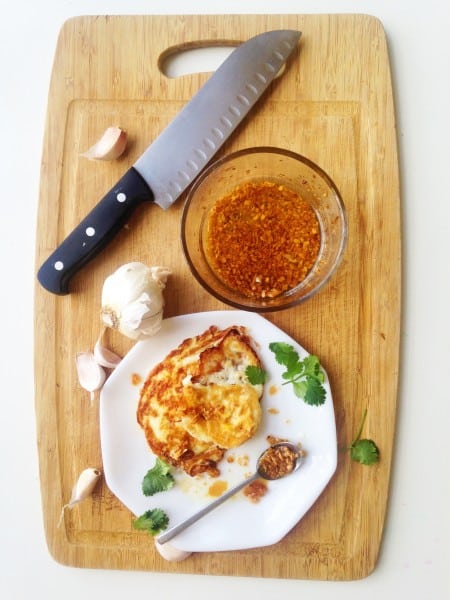
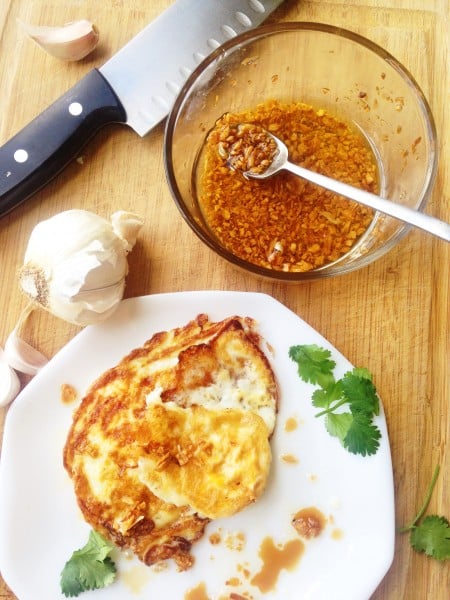
We like to put it on fried eggs along with some Golden Mountain sauce, or Thai fried rice to give a little pop sometimes, or even American dishes that need a little garlic zing to them like pizza or spaghetti. It really works with anything!
It can be very tricky to make though, and I’ve often ended up with blackened garlic bits instead of golden brown because it’s such a delicate process.
To help you avoid the same mistakes I’ve made, here are five tips for how to make fried garlic topping.
1. Use more oil than you would expect to.
I know most people are cautious about oil because and don’t like using too much, but if you don’t have enough oil in your pan, your garlic wont be fully covered enough to get crispy brown. Plus, in Thailand they like to keep the oil the garlic is fried in, so that you can sprinkle the oil along with the crispy garlic on your Thai dish to get that extra garliky hit.
SO good!
2. Make sure that the oil is NOT hot before you put in the garlic.
If the oil is steaming hot before you put in your garlic, it will most likely burn in seconds. You don’t want that, so make sure you put your oil in your pan, and immediately put in your garlic before the pan is hot.
3. Just keep stirring! Just keep stirring!
You can sing that little phrase in your head, Dory-style, while stirring your garlic in your pan. If you leave the garlic for a moment, it could turn black, so make sure you coddle it, and stir it often, so it doesn’t have time to sit and quickly, yet sneakily burn while your back is turned.
4. Leave your heat on low to medium-ish.
Most of the time when I stir-fry, my heat is as high as it can go since that’s how you get that lovely smoky flavor in stir-fries. But not when making fried garlic topping! All stoves are different, but usually somewhere around low to medium-low is a good setting. If you see it getting too hot, immediately remove your pan from the burner and turn down the heat.
5. The minute the garlic turns golden brown, take the pan off the burner.
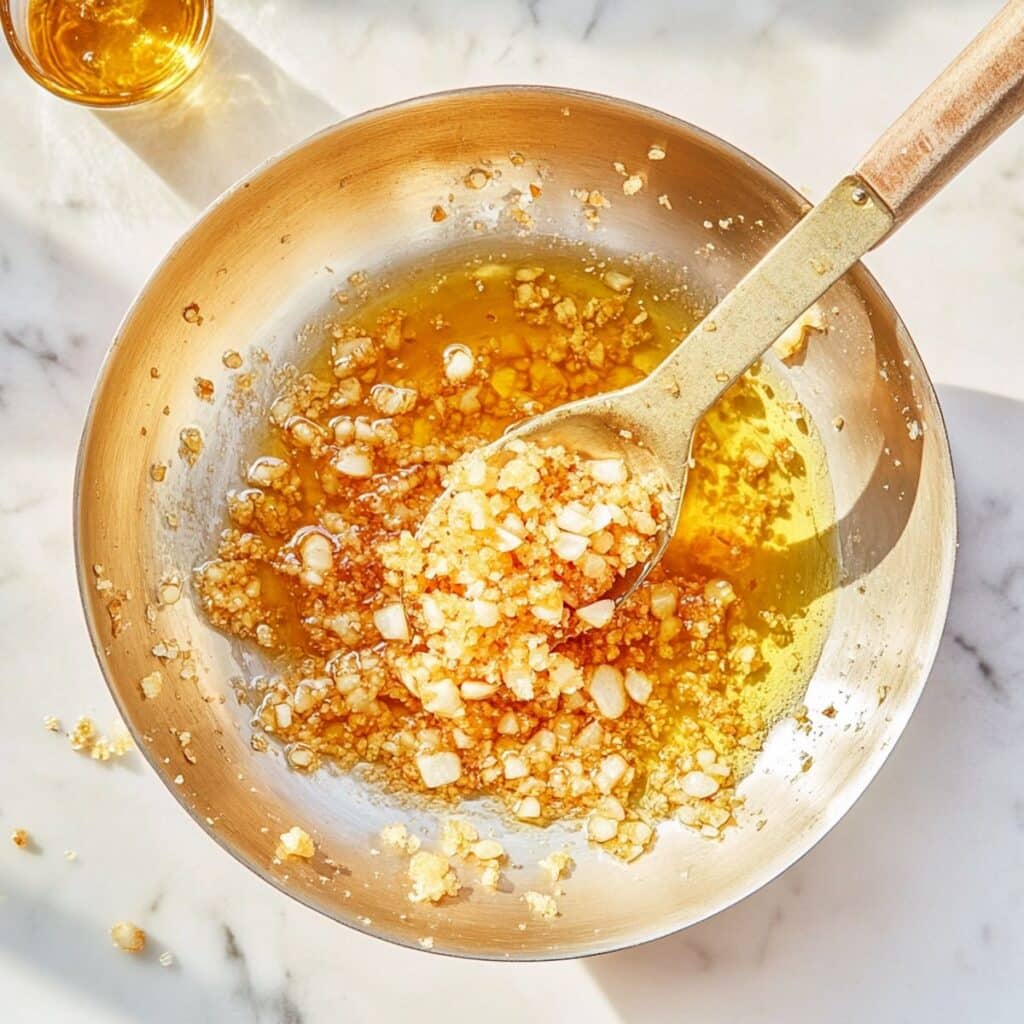
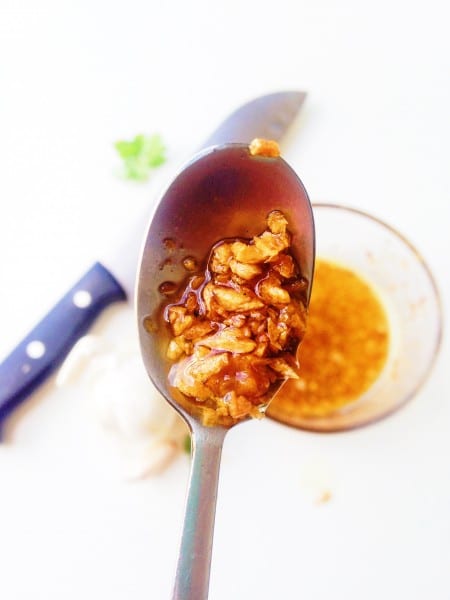
Once you see the garlic turn the color it is in these photos, aka golden, you have done your job, so remove your pan from the heat and quickly put the garlic topping and garlic oil in a heatproof container. If you leave it on a second longer, the garlic could start to burn. Plus, the garlic still cooks some in the hot oil even off the burner, so make sure you keep that in mind too.
You might not get it right the first time, and that’s totally fine because that’s how you learn (preaching that to myself). Or you might get it perfect the first time, yay! Either way, you have learned something, double yay!
Now go make some crispy garlic topping, put it on amazing Thai dishes like Garlic and Pepper Chicken and sprinkle it to your heart’s desire!
Print
5 Tips for How to Make Crispy Fried Garlic Topping
- Total Time: 10 minutes
- Yield: 3-4 1x
Description
Fried garlic topping is so yummy on Thai food or any food, yet so easy to mess up! But these 5 tips on how to make fried garlic will help you make it golden and crispy every time!
Ingredients
- 1 cup vegetable oil
- 1 whole head of garlic, cloves peeled and finely chopped
Instructions
- Combine oil and garlic in a saucepan over low heat.
- Stir constantly for about 3 minutes until garlic starts to turn a light brown color, as shown in the pics, and the amazing aroma of toasted garlic hits your nose and makes you smile.
- Take it off the heat immediately because in a split-second it can go from brown to black and smell burnt instead of amazing.
- The hot oil in the hot pan removed from the burner will finish toasting it up some if need be.
- Pour it into a heatproof container and sprinkle on any Thai dishes or any dish that needs some garlicky crunch!
- Prep Time: 5 minutes
- Cook Time: 5 minutes


I really like adding fried garlic in most dish. It also comes very handy for me since I can store it in my pantry for a long period of time. Thank you!
Yes! i feel the same way! 🙂 So glad you enjoy it!
How do you save the fried garlic? Do you put it in the fridge in a bottle?
I put it in a glass jar and save it on the counter for a few days. If it’s put in the fridge it doesn’t stay crispy.