

If you’ve ever wandered through a Thai night market on a warm evening, chances are you’ve spotted Thai coconut ice cream being scooped into cups or bread rolls, topped with peanuts and sometimes served with sweet sticky rice. This dairy-free creamy, lightly sweet dessert is simple, nostalgic, and blows my mind every time I have it!
This Thai coconut ice cream recipe is the version I teach in my Thai cooking classes and make at home for my family. It’s rich without being heavy, naturally dairy-free, and made with just a handful of ingredients that let the coconut milk shine.
What Is Thai Coconut Ice Cream?
Thai coconut ice cream is a traditional Thai dessert made with coconut milk and coconut cream, lightly sweetened and churned until smooth and creamy. Unlike Western ice creams, it doesn’t rely on eggs or dairy.
Fun Fact: In Thailand, Thai coconut ice cream instead of being served in an ice cream cone, is often served in a soft bread roll, just like a hot dog bun. Sounds strange to Westerners right?
This way of serving ice cream grew out of Thailand’s street food culture, influenced by Chinese bakeries and Western-style bread. Vendors were looking for an easy, portable way to serve ice cream without bowls, and the bun made it easy to eat while walking through busy markets! I prefer just getting it in a cup, but go for it if you’ve never tried it.
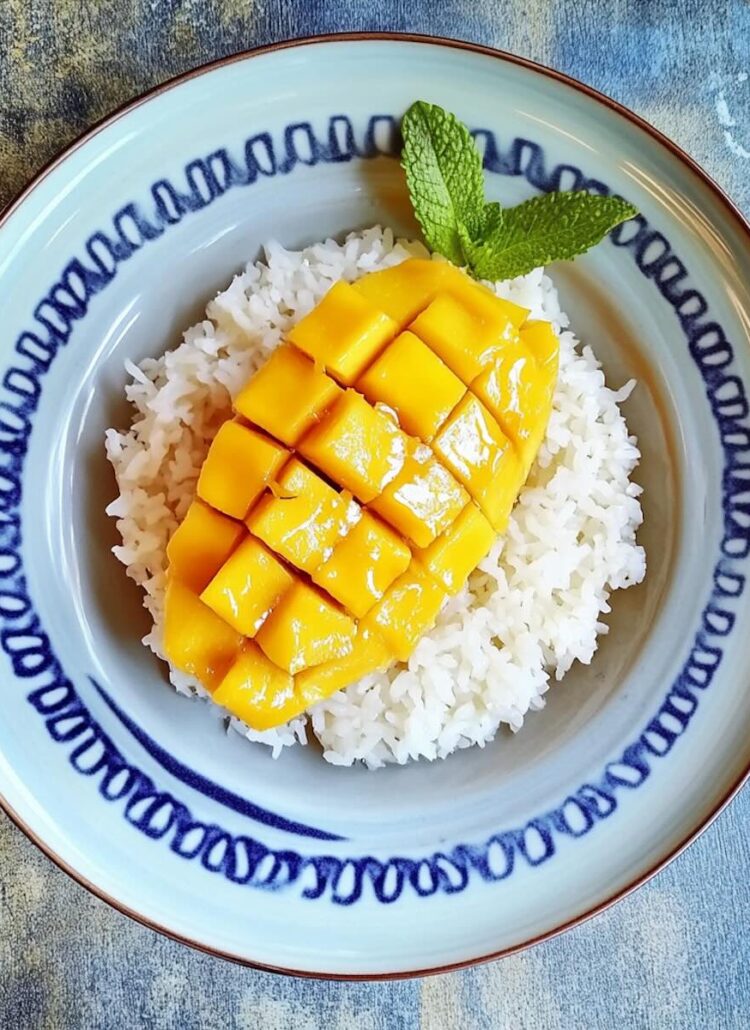
If you love coconut milk-based Thai recipes, you’ll probably also love Thai Mango Sticky Rice, one of my favorite Thai desserts and the perfect pairing with coconut ice cream, Massman Chicken Curry, a cozy, approachable way to introduce someone to Thai food, and Creamy Tom Yum Pasta, a heart-warming dish with bold Thai flavors!
Why You’ll Love This Thai Coconut Ice Cream Recipe
- Authentic Thai flavor taught by a Thai cooking class instructor, aka me Sherri!
- Creamy and rich without dairy or eggs
- Easy, no-fuss ingredient list
- Perfect on its own or with fun Thai-style toppings
Thai Coconut Ice Cream Ingredients You’ll Need

- 1 can or box of unsweetened coconut cream (13.5 oz) – This adds richness and body, giving the ice cream its creamy texture. Use unsweetened coconut cream, not cream of coconut, which has added sugar.
- 1 can full-fat coconut milk (13.5 oz) – Balances the coconut cream for a smooth, scoopable consistency.
- 3/4 white sugar, or palm sugar, or to taste – White sugar has a creamy consistency, and palm sugar gives a deeper, caramel-like sweetness. Go with whatever you prefer!
- 1 tsp vanilla (optional) – Not traditionally used in Thailand, but Thai Hubby loves the subtle warmth it adds.
- ⅛ tsp salt – Just enough to balance the sweetness and enhance the coconut flavor.
Toppings (optional but fun):
- Roasted peanuts – Adds crunch and nuttiness.
- Sweetened condensed milk – For those who like extra creamy sweetness.
- Chocolate syrup – Not traditional, but popular with kids and at Thai ice cream carts.
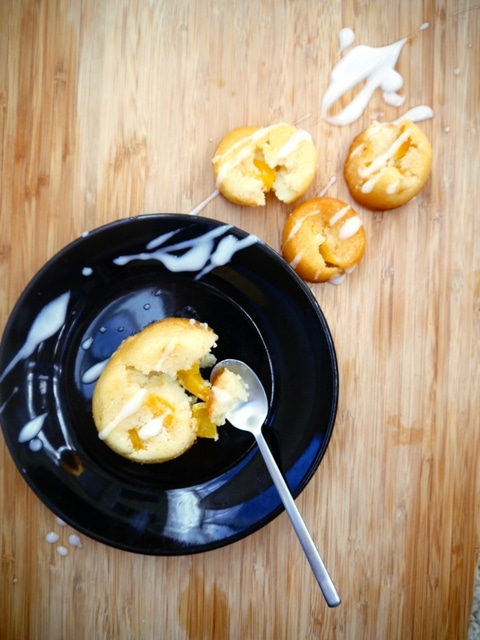
- Coconut sauce – The same coconut sauce from Mango Sticky Rice recipe, drizzled on top.
- Sweet sticky rice – A classic when serving coconut ice cream street-style. Use the sticky rice from my Mango Sticky Rice recipe and skip the mango.
- Soft bread roll or hot dog bun (Thai street-style): How coconut ice cream is often served by street vendors in Thailand instead of in a cone.
How to Make Thai Coconut Ice Cream

Step 1: Warm the coconut base
Add 1 can coconut cream (13.5 oz), 1 can full-fat coconut milk (13.5 oz), 3/4 cup white sugar, 1 tsp vanilla (optional), and ⅛ tsp salt to a saucepan. Bring to a gentle simmer over medium heat, stirring occasionally, until the sugar is fully dissolved, about 5 minutes.
Step 2: Chill
Remove from heat and let cool slightly, then refrigerate for at least 4 hours or overnight. This step is key for achieving a creamy texture.
Step 3: Churn
Churn according to your ice cream maker’s manufacturer’s instructions until thick and creamy.
Cuisinart Ice Cream Mixer Tips:
- If you have a Cuisinart Ice Cream mixer like me (not sponsored, it’s just what I have) make sure you put the frozen ice cream bowl on the base, put in the paddle, put on the lid, and turn on your ice cream mixer before adding the base to frozen bowl or else the lid doesn’t latch. I’ve learned through experience!
- Make sure your ice cream mixing bowl has been in the freezer for 24 hours before making the ice cream to make sure it works right. I always just put mine in the freezer after cleaning it so it’s always ready to go.
- It usually takes 25 minutes to churn it to creamy consistency, then turn it off manually.
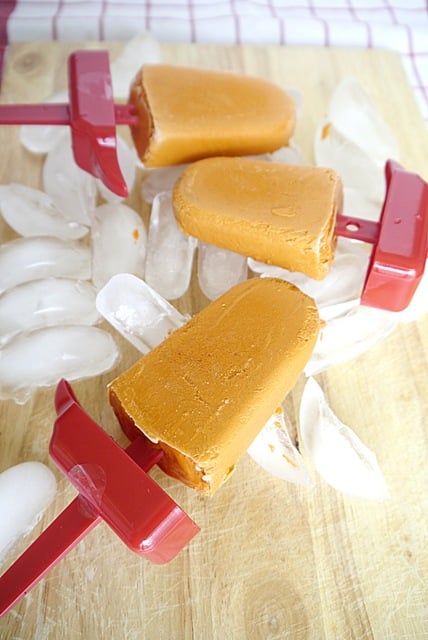
Step 4: Freeze and serve
Either eat it soft as is, or transfer to a container and freeze for 6 to 8 hours until scoopable. Serve plain or with your favorite toppings, and Thai sticky rice and call it Thai Coconut Ice Cream Sundaes!

Additions and Substitutions
- White sugar substitute: Palm sugar, light brown sugar, or coconut sugar. Using other sugars might make it less creamy, but will still be yummy!
- Coconut cream substitute: 1 can of full-fat coconut milk. You can use ½ cup coconut water instead, but the ice cream will be less creamy.
- Vanilla substitute: Leave it out if you want a more traditional flavor.
- Peanut substitute: Toasted cashews or almonds, or leave them out.
- Sweet sticky rice substitute: Serve with fresh fruit like mango or jackfruit instead.
Tips for the Best Thai Coconut Ice Cream
- Use full-fat coconut milk: Lower-fat versions will freeze icy instead of creamy.
- Taste before chilling: The mixture should taste slightly sweeter than you want the final ice cream to be, since flavors mellow once frozen.
- Don’t rush the chill: A well-chilled base churns better and creates a smoother texture.
- Make it your own: Go Thai with peanuts and sweet sticky rice, or have fun with it and add sprinkles, whipped cream, or whatever you’re craving.
Behind the Thai Coconut Ice Cream Recipe

One of my favorite memories of Thai coconut ice cream in Thailand happened after a long snorkeling day in the beaches in the south of Thailand with a Love Andaman jet boat tour (not sponsored, but we loved it if you’re ever looking for a tour!).
We spent the day hopping on and off the boat, snorkeling over colorful reefs, spotting fish of every size and color, and adventuring with our four kids alongside people from all over the world. It was one of those full, sun-soaked days that leaves you completely exhausted in the very best way.
At the end of the day, we finally walked up the boat ramp and into the little office area, and the first thing we saw was a Thai man sitting beside a silver bucket packed full of homemade Thai coconut ice cream. We hadn’t realized food was included in the tour, and this was the dessert.
I’m not sure if it was the sun, the salt water, the wind, or just how hungry we were, but that coconut ice cream tasted like the most refreshing thing Thai Hubby and I had ever eaten. It was light, creamy, perfectly sweet, and somehow…it was all-you-can-eat. I’m pretty sure we each went back for three more cups.
Do you ever look at a photo from a special place and wish you could step right back into that moment just by touching it? That’s how food like this feels to me. When I eat something tied to a memory, it’s like I zoom straight back in time.
Every time I scoop this coconut ice cream, close my eyes, and take a bite, I’m right back there, tired, happy, salty-haired, and savoring what still feels like the best coconut ice cream I’ve ever had.
Making this recipe in my home kitchen feels like taking a small scoop of that Thailand memory all over again, and I hope it brings you that same joy too dear!
Thai Coconut Ice Cream Frequently Asked Questions
Coconut ice cream with peanuts and sometimes sweet sticky rice! It’s refreshing, lightly sweet, and perfect after a Thai meal.
Popular Thai desserts include Thai mango sticky rice, coconut ice cream, Khanom Krok (coconut pancakes), taro custard, and coconut-based sticky rice sweets.
Yes. Traditional versions are made with coconut milk and/or coconut cream, with no dairy.
Yes, it’s usually vegan when made with coconut milk, coconut cream, sugar, and salt. Just skip non-vegan toppings like condensed milk.
Coconut ice cream is the most traditional and commonly enjoyed ice cream in Thailand.
It’s made from coconut milk, coconut cream, sugar (often palm sugar), and a pinch of salt.
Mango sticky rice is the most internationally famous Thai dessert, with Thai coconut ice cream close behind.
Want More Thai Recipes?
- Mango Sticky Rice – The classic Thai dessert made with sweet sticky rice and coconut sauce. Skip the mango and use the rice if you want to serve it with coconut ice cream.
- Thai Mango Coconut Smoothie – A refreshing Thai fruit smoothie made with ripe mango and coconut milk. Creamy, tropical, and naturally dairy-free.
- Mango Avocado Coconut Smoothie – This ultra-creamy smoothie blends mango, avocado, and coconut milk for a rich tropical drink inspired by Thai fruit shakes.
- 35 Popular Thai Dishes – Explore Thailand’s most loved recipes, from street food favorites to comforting curries and sweets.
And if you want to learn how to make in person, come join one of my Thai cooking classes in Boone, NC!
Love learning Thai kitchen tips like this? Sign up for my Thai-Foodie Substack newsletter and get my free Substitution Hacks Guide download, your cheat sheet for swapping Thai ingredients no matter where you live!
If you make it, I want to see! Take a pic and tag me on Instagram @thaifoodie! Happy Thai cooking!
Print
Thai Coconut Ice Cream (Creamy, Dairy-Free Thai Dessert)
- Total Time: 4 hours and 40 minutes
- Yield: 1 quart 1x
- Diet: Dairy-Free, Gluten-Free
Description
A creamy, lightly sweet Thai coconut ice cream inspired by the street-style dessert I fell in love with in Thailand. Made with coconut milk and coconut cream, it’s naturally dairy-free and easy to make at home.
Ingredients
1 can or box of unsweetened coconut cream (13.5 oz)
1 can full-fat coconut milk (13.5 oz)
3/4 cup white sugar, or palm sugar, to taste
1 tsp vanilla (optional)
1/8 tsp salt
Toppings (optional):
Roasted peanuts
Sweetened condensed milk
Chocolate syrup
Coconut sauce (from my Mango Sticky Rice recipe)
Sweet sticky rice (from my Mango Sticky Rice recipe, skip the mango)
Soft bread roll or hot dog bun (Thai street-style)
Instructions
Step 1: Warm the coconut base
Add 1 can coconut cream (13.5 oz), 1 can full-fat coconut milk (13.5 oz), 3/4 cup white sugar, 1 tsp vanilla (optional), and ⅛ tsp salt to a saucepan. Bring to a gentle simmer over medium heat, stirring occasionally, until the sugar is fully dissolved, about 5 minutes.
Step 2: Chill
Remove from heat and let cool slightly, then refrigerate for at least 4 hours or overnight. This step is key for achieving a creamy texture.
Step 3: Churn
Churn according to your ice cream maker’s manufacturer’s instructions until thick and creamy.
Cuisinart Ice Cream Mixer Tips:
- If you have a Cuisinart Ice Cream mixer like me (not sponsored, it’s just what I have), make sure you put the frozen ice cream bowl on the base, put in the paddle, put on the lid, and turn on your ice cream mixer before adding the base to frozen bowl or else the lid doesn’t latch. I’ve learned through experience!
- Make sure your ice cream mixing bowl has been in the freezer for 24 hours before making the ice cream to make sure it works right. I always just put mine in the freezer after cleaning it so it’s always ready to go.
- It usually takes 25 minutes to churn it to creamy consistency, then turn it off manually.
Step 4: Freeze and serve
Either eat it soft as is, or transfer to a container and freeze for 6 to 8 hours until scoopable. Serve plain or with your favorite toppings, and Thai sticky rice and call it Thai Coconut Ice Cream Sundaes!
Notes
Additions and Substitutions
- White sugar substitute: Palm sugar, light brown sugar, or coconut sugar. Using other sugars might make it less creamy, but will still be yummy!
- Coconut cream substitute: 1 can of full-fat coconut milk. You can use ½ cup coconut water instead, but the ice cream will be less creamy.
- Vanilla substitute: Leave it out if you want a more traditional flavor.
- Peanut substitute: Toasted cashews or almonds, or leave them out.
- Sweet sticky rice substitute: Serve with fresh fruit like mango or jackfruit instead.
Tips for the Best Thai Coconut Ice Cream
- Use full-fat coconut milk: Lower-fat versions will freeze icy instead of creamy.
- Taste before chilling: The mixture should taste slightly sweeter than you want the final ice cream to be, since flavors mellow once frozen.
- Don’t rush the chill: A well-chilled base churns better and creates a smoother texture.
- Make it your own: Go Thai with peanuts and sweet sticky rice, or have fun with it and add sprinkles, whipped cream, or whatever you’re craving.
- Prep Time: 10 minutes
- Chill + Churn: 4 hours and 30 minutes
- Cook Time: 5 minutes
- Category: Dessert
- Method: ice cream
- Cuisine: Thai
This post contains links to affiliate websites, such as Amazon, and I receive an affiliate commission for any purchases made by you using these links. I appreciate your support!

Love how this ice cream reminds me of what I had in Thailand!